My son is working with a Raspberry Pi and a Sense HAT at school (he is 11 and in Year 7). He enjoys this stuff so I thought I’d get him the equivalent kit to experiment with at home.
Then I read that the temperature sensor suffers from its proximity to the CPU. The CPU gets hot (obviously) making the temperature sensor inaccurate.
The obvious answer was to move the Sense HAT physically away from the Raspberry Pi by connecting it with a cable long enough to distance it from the heat of the CPU.
We could not find anywhere all the information we needed to do this successfully. It’s not hard but it took us a few goes to get it right. Here’s how you can achieve this quickly and easily.
Ingredients
- Raspberry Pi 3 Model B
- Raspberry Pi Sense HAT
- 40-pin GPIO ribbon cable
- 40-pin coupler adapter (male pins)
How to connect the Sense HAT to the Raspberry Pi
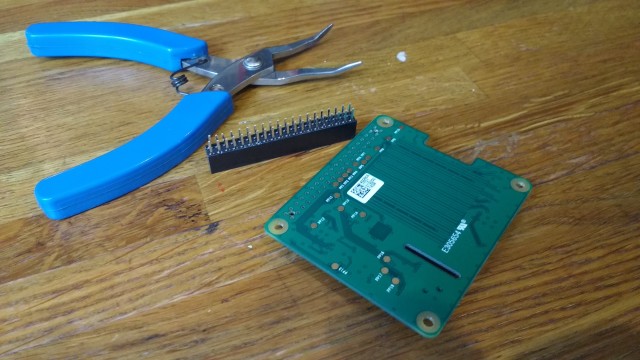
The least intuitive part of this for me was that you can remove the connector block from underneath the Sense HAT. I needed pliers to get a strong enough grip.
Thanks to sparkie1 for this crucial bit of knowledge.
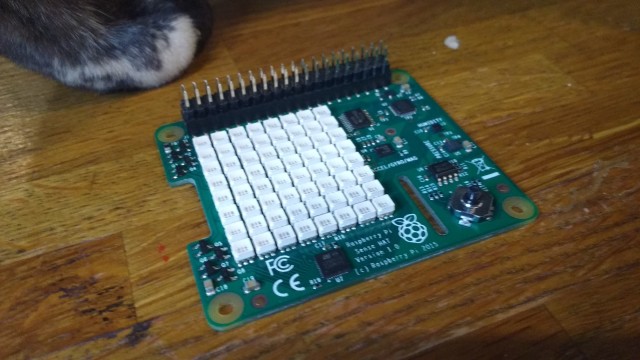
Having removed the connector block from underneath the Sense HAT, you can now plug in the 40-pin coupler adapter into the top of the Sense HAT.
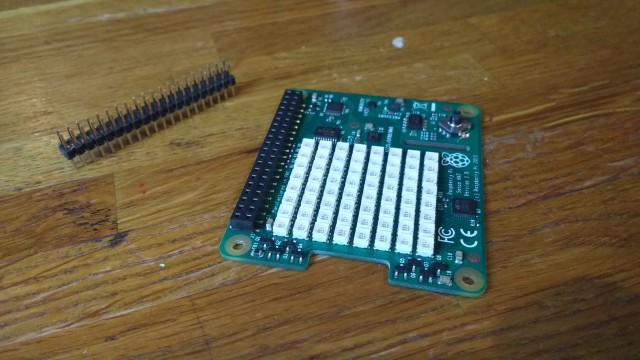
Here’s the coupler adapter plugged in. You can get your cat to help with this if you want.
Then plug the ribbon cable into the coupler adapter so the cable doesn’t obscure the Sense HAT’s LED grid.
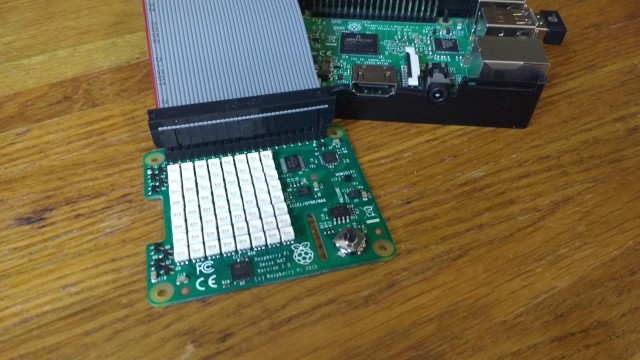
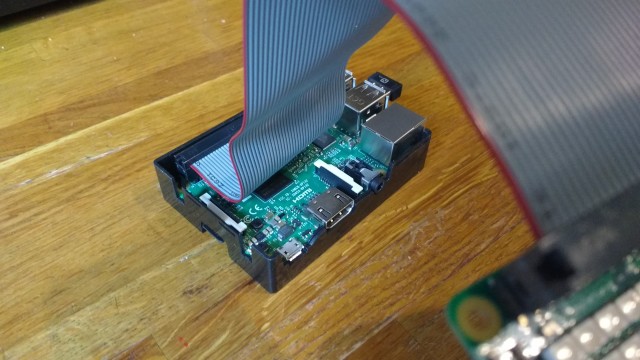
Then plug the other end of the ribbon cable into the Raspberry Pi’s GPIO connector this way round:
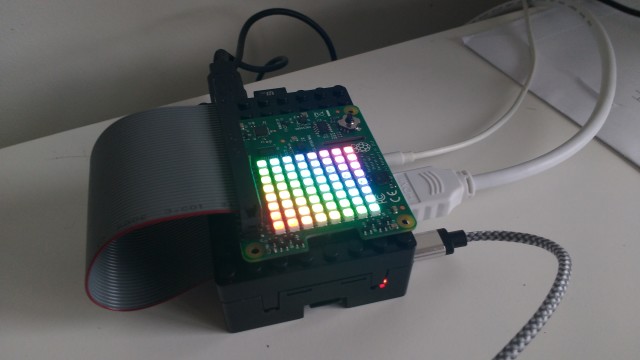
Then you’re good to go. Here it is with the lid back on:
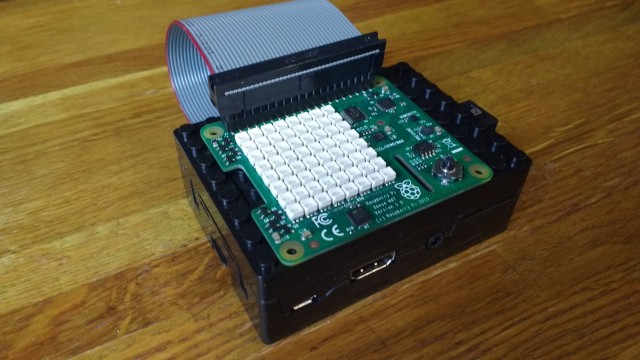
And in full effect: